
At a glance
Symptoms
- • Clothes take multiple cycles to dry completely, especially heavy items like towels or jeans.
- • The dryer exterior gets dangerously hot to the touch during operation.
- • The laundry room feels excessively humid or smells like burning dust.
- • The exterior vent hood damper flap barely opens when the dryer is running.
- • It has been over 12 months since the vent was last professionally or thoroughly cleaned.
Common causes
- • Fire Prevention: Lint is highly flammable. Combined with restricted airflow and a hot heating element, it is a leading cause of house fires.
- • Energy Efficiency: A clear vent allows moisture to escape quickly, cutting run times and saving on your utility bills.
- • Appliance Lifespan: Restricted airflow forces the blower motor and heating element to work overtime, leading to premature thermal fuse or element failure.
- • Moisture Control: Trapped humid air can back up into your laundry room or wall cavities, causing mold issues, especially in damp coastal areas like Tacoma or Seattle.
Safety First — Read Before You Start
- •Always unplug the dryer from the wall outlet (or turn off the breaker for hardwired units) before moving it or disconnecting the vent.
- •If you have a gas dryer, move the unit very carefully to avoid kinking, stretching, or damaging the flexible gas supply line. If you smell gas, stop immediately, open windows, and call the gas company.
- •Never use standard cloth 'duct tape' on dryer vents. It degrades quickly under heat and poses a severe fire risk. Always use UL-listed aluminum foil tape.
- •Avoid using a leaf blower to clear vents if your ductwork is old or made of flexible foil/vinyl in the walls, as the high pressure can blow apart the hidden seams.
Tools & supplies you'll need
- Flexible vent cleaning brush kit with connectable rods ($20-$40)
- Cordless power drill (optional, for use with the brush kit)
- Shop-vac or standard vacuum with a long hose attachment
- Screwdriver or nut driver (usually 1/4-inch or 5/16-inch)
- UL 181AP-M listed aluminum foil tape ($10-$15)
- Flashlight or headlamp
- Work gloves and a dust mask
Step-by-step instructions
Unplug and Position the Dryer
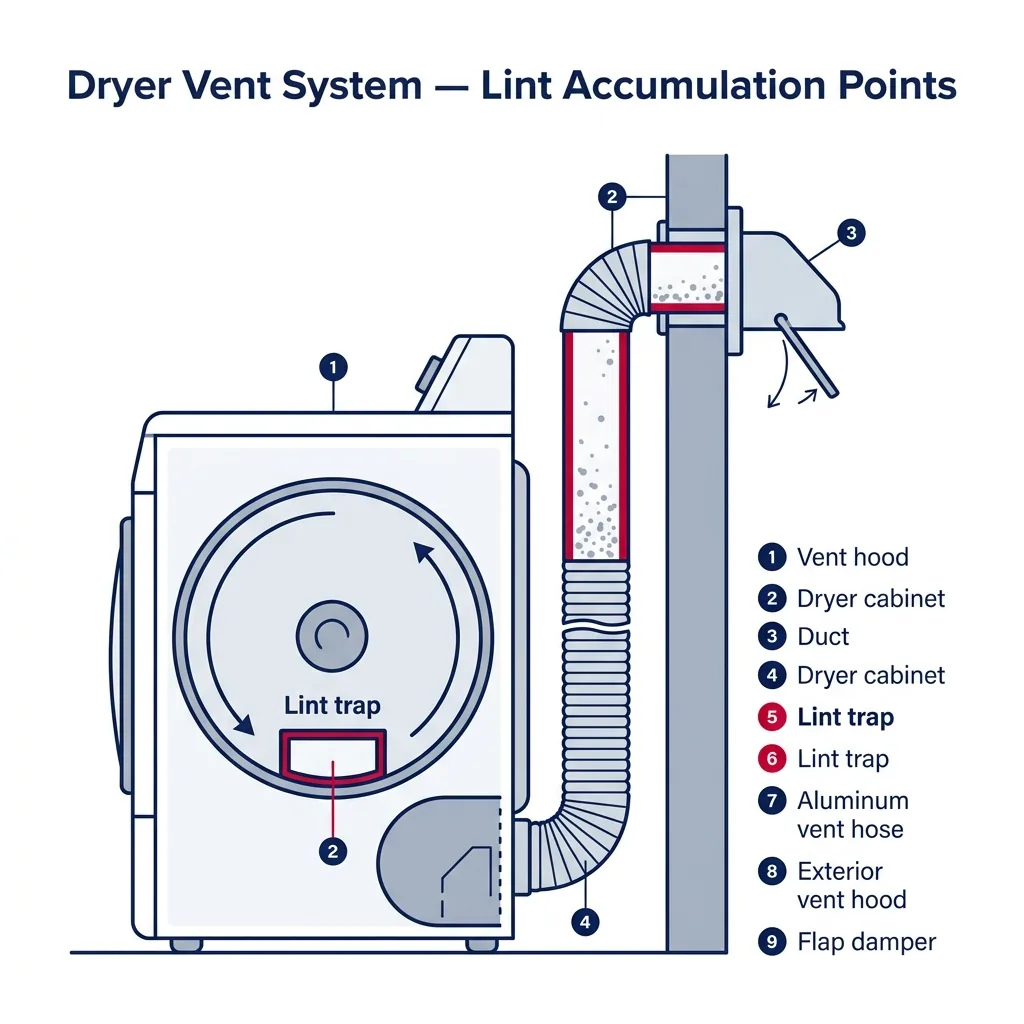
Begin by disconnecting the dryer from its power source. If you are operating a gas model, ensure the gas supply is shut off; if you cannot reach the valve, carefully slide the machine outward just enough to gain 2 or 3 feet of workspace. Use a light to survey the area behind the unit, as you will likely find a significant accumulation of lint.
Tip: If your machine sits on a pedestal or inside a tight pantry, place a piece of cardboard on the floor to help glide the heavy unit without damaging your flooring.
⚠ Warning: Never stretch a gas line tight. If the line is too short to allow you behind the dryer, you must safely shut off the gas and disconnect the line before proceeding.
Remove the Transition Hose
Find the short hose connecting the dryer to the wall. Loosen the metal worm-gear clamps with your driver or peel away the foil tape. Discard the hose if it is made of thin plastic or foil, as these are fire hazards. Vacuum out the rear exhaust port of the dryer and the wall opening thoroughly.
Tip: Replace old transition hoses with semi-rigid aluminum ducting. It holds its shape better and resists crushing when the dryer is pushed back.
Prepare and Insert the Cleaning Brush
Assemble your flexible brush kit by attaching the brush head to the first fiberglass rod. Feed the brush into the wall duct. If utilizing a cordless drill, connect the rod to the chuck, set the drill to 'forward' (clockwise), and gently push the spinning brush into the ductwork.
⚠ Warning: CRITICAL: Never run the drill in reverse (counter-clockwise). Doing so can unscrew the rod connections inside the wall, leaving the brush permanently stuck in your ductwork.
Scrub the Ductwork
Feed the brush deeper into the duct by adding rods sequentially. Use a plunging motion to scrub the interior walls of the pipe, allowing the vacuum to catch the loosened lint near the wall opening. Keep adding rods until you feel the brush meet the exterior vent hood.
Tip: If you live in a hillside home or have a laundry room on an interior wall, your vent might run vertically through the roof. Gravity makes vertical runs harder to clean from the bottom up, so you may need to snake the brush down from the roof (only if you can do so safely).
Clear the Exterior Vent Hood
Go outside to find your vent exit point. Open the damper and remove any lint that the brush pushed through. Confirm the flap hinges move without resistance to prevent pests from entering or air from being trapped. Clean the louvers completely.
⚠ Warning: Dryer vents should NEVER have a mesh pest screen installed over them. Screens trap lint instantly and will cause a dangerous blockage within weeks. If your hood has a screen, cut it out or replace the hood.
Reattach and Seal
Return indoors to vacuum any remaining debris. Reconnect the semi-rigid duct to the wall and dryer using metal worm-gear clamps. Apply UL-listed aluminum foil tape to all joints for an airtight seal. Carefully slide the dryer back to its home, checking that the hose is not crushed or kinked.
Tip: Leaving about 4 to 6 inches of clearance between the back of the dryer and the wall is usually necessary to prevent crushing the duct.
Verify Airflow
Restore power (and gas, checking for leaks with soapy water if necessary). Run the dryer on an 'Air Fluff' cycle. Check the exterior hood to ensure the damper is blowing open with strong force. If you feel a steady breeze, the system is clear.
Brand-specific notes
Some brands have known design quirks worth knowing about before you start.
LG
LG dryers are notorious for throwing a 'd80', 'd90', or 'd95' error code when the vent is clogged. This Flow Sense system is highly sensitive; even a partially crushed transition hose behind the dryer can trigger it. Clearing the vent usually clears the code automatically.
Samsung
Many Samsung models will display an 'HC', 'hE', or 'tC' code, or the vent blockage indicator light on the panel will illuminate. If the vent isn't cleaned promptly, Samsung heating elements are prone to grounding out and failing completely due to the trapped heat.
Whirlpool
Older Whirlpool and Maytag models lack sophisticated airflow sensors, meaning they will just keep running hot until the thermal fuse blows. If your Whirlpool suddenly has no heat at all or won't start, a clogged vent likely killed the $15 thermal fuse on the blower housing.
Bosch
Bosch compact condensation dryers (often found in apartments or condos) don't have a traditional exhaust vent. Instead, they have a heat exchanger (condenser) at the bottom front that needs to be pulled out and rinsed in the sink monthly. Don't go looking for a vent hose on a 500 or 800 series condensation unit!
GE
GE models often have a very low-to-the-ground rear exhaust port. When pushed back into a tight laundry closet, the standard 4-inch aluminum duct gets crushed instantly. Consider installing a rigid 90-degree 'close clearance' periscope vent if your GE is in a tight space.
What our techs see most often
Across the Puget Sound area and throughout the Willamette Valley, we frequently encounter dryers crammed into tight garage corners or closets with vertical roof vents. That vertical climb is a magnet for lint, which often falls back into the blower wheel. If your vent goes straight up, we recommend cleaning it every 6 to 8 months.
When to call a professional
- → Your vent run exceeds 20 feet or has more than two 90-degree elbows, making it too difficult for standard DIY brush kits to navigate.
- → The exterior vent hood is located on a steep roof or a second/third-story exterior wall that you cannot safely reach.
- → You discover the ductwork inside the wall is made of white vinyl or flexible foil (a massive fire hazard) and needs to be replaced with rigid galvanized steel.
- → You smell gas when moving the dryer or do not feel comfortable working around the flexible gas supply line.
- → You pull out wet, sludgy lint, which indicates a serious condensation issue or a disconnected duct leaking moisture into your crawlspace or attic.
Related Dryer Troubleshooting
These troubleshooting guides cover problems this task can help solve.
Dryer Drum Not Spinning: Troubleshooting and Repairs
Dryer Making Loud Noises: Identify Squeaks, Thumps, and Grinding
Dryer Not Heating: Troubleshooting and Repair
Dryer Overheating and Stopping Mid-Cycle: How to Fix
Dryer Takes Too Long to Dry: Troubleshooting Guide
Frequently asked questions
How much does it cost to have a professional clean my dryer vent?
In the Pacific Northwest, professional dryer vent cleaning typically ranges from $125 to $250, depending on the length of the run, the severity of the clog, and whether specialized roof access is required.
Can I just use a leaf blower to clean my dryer vent?
While tempting and popular on the internet, using a leaf blower is risky. If your wall duct has any loose joints or uses tape that has degraded, the high pressure can blow the duct apart inside your walls or ceiling, venting hot, moist lint directly into your home's structure.
Why is the lint inside my vent wet and sticky?
Coastal humidity in areas like Seattle or Tacoma can contribute, but wet lint usually means the airflow is so restricted that the moisture from your clothes is condensing inside the duct before it can escape. This requires immediate cleaning to prevent mold and rusting inside the ductwork.
Are those flexible plastic or foil transition hoses safe?
No. Building codes and appliance manufacturers now strictly prohibit white vinyl or thin foil hoses. You should only use semi-rigid aluminum or rigid galvanized steel ducting for the transition hose between the dryer and the wall.
I cleaned the vent, but my dryer still takes two hours to dry. What's next?
If the vent is 100% clear (including the outside hood) and airflow is strong, the dryer itself may have a failing heating element, a blown thermal fuse, or a clogged internal blower wheel. At this point, the appliance requires internal diagnosis and repair.
Need a technician in WA or OR?
If the fix above does not work, A-Fix Service repairs dryers across Washington and Oregon. $90 diagnostic visit.
Related Repair Guides
Dryer Takes Too Long to Dry: Troubleshooting Guide
When your dryer runs but fails to dry clothes in a single cycle, the culprit is usually restricted airflow rather than a broken internal component. Buildup of lint, vent obstructions, or dirty moisture sensors are common triggers for slow drying in Pacific Northwest homes. Most of these issues are solvable in under 30 minutes without needing replacement parts.
Dryer Overheating and Stopping Mid-Cycle: How to Fix
An overheating dryer is a serious fire hazard, not just a minor inconvenience. If your machine feels dangerously hot or shuts down during a cycle, use this guide to locate airflow blockages or failing thermal components.
Dryer Not Heating: Troubleshooting and Repair
If your dryer is spinning but failing to warm up, you are likely dealing with one of three culprits: a blocked exhaust vent, a tripped thermal fuse, or a failed heating component (electric element or gas igniter). A clogged vent is the most frequent issue and a major fire risk—restricted airflow is the primary cause of dryer-related house fires in the Pacific Northwest.